Magnet Sorting Activity
Below is a picture of the set-up for this activity. I chose some magnetic and non-magnetic items from around the house and placed them in a basket. There were two distinct spaces for David to place the magnetic and non-magnetic items. I showed him a bar magnet, told him what it was, then proceeded to show him what to do with it. The interaction went something like this: "What is this? Yes, it's a paper clip. Bring the magnet close to it. Does it stick to the magnet? Yes! That means the paper clip is magnetic! Now put the paper clip here. This word says magnetic, so we put all the magnetic things here. Now what is this? (Hold the cup) Yes! It's a cup. Do you think it's magnetic? Let's test it with the magnet. Does it stick? No! The cup is non-magnetic, so we put the cup here..."

David particularly loved testing the paper clips and house keys with the magnet. I gave him more paper clips to see what would happen if he were to place the magnet close to many of them. He was surprised when the paper clips all came rushing to the magnet. Then he wanted to do it again, and again, and again...


The final result of our sorting activity. I arranged the items neatly before taking a photo, David wasn't too interested in putting the things down neatly during the activity. He was too eager to move on to the next item!

Magnetic Discovery Bottle

Materials used:
- some pipe cleaners, cut into shorter strips
- a clear plastic bottle, filled with water
- magnet
The picture above shows the set-up. I asked David to put a bar magnet on the side of the bottle near the pipe cleaners and observe what happened. The pipe cleaner strips were attracted to the magnet and they all clumped together in the process. It was interesting to watch magnetism at work in this setting, through thin plastic and water. I added water into the bottle so David could have some fun watching and feeling how the magnet could 'drag' the pipe cleaners all over the bottle (in slow motion). You can do this activity without water too. I had to discard the pipe cleaners after some days because they started to rust in the water.
Magnetic Painting
Materials used:
- one paper plate with 3 dabs of paint (primary colours - red, yellow and blue) on it
- one paper clip
- magnet

Directions: Place the magnet under the paper plate, touching the base, just below the paper clip. It should attract the paper clip even though the paper plate is a barrier. Drag the paper clip using the magnet so it moves in various directions on the paper plate. As the paper clip cuts through the colours, it will leave a trail of the colours it comes in contact with.

David sat down, held the bar magnet in one hand, and started to slide the bar magnet around, touching the base of the paper plate. It was interesting to watch as it seemed like the paper clip was moving by itself! To me, it was as if a robot was moving around, cutting through the colours and painting on its own!
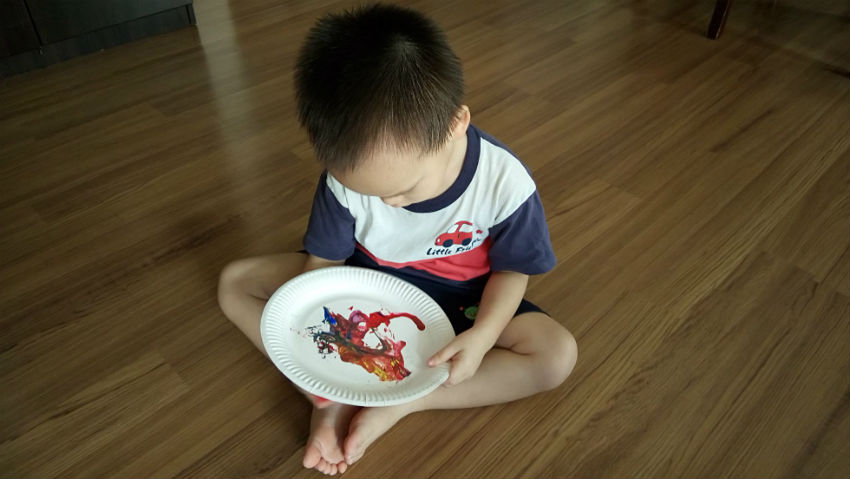
As the paper clip cut through the colours more and more, the effects of colour mixing could be observed. The secondary colours, orange, green and purple, became more visible.

This was really an exercise in patience. It took quite a long time for David to 'paint' the plate. Above is a picture of the 'magnetic painting'. I thought this was a unique way to paint, and David certainly experienced and learned about the effects of magnetism through this activity!
No comments:
Post a Comment